Teach You How to Draw Princess Elsa from Frozen – Every Disney movie employs a slightly different Disney style, so it’s not possible to create universal guidelines for all characters. Describing them individually would make this tutorial vast and hard to comprehend.
However, I can provide you with a tool for drawing each existing Disney character by modifying the rules we just learned. I will use Elsa from ‘Frozen’ as an example in this Disney Drawing: Teach You How to Draw Princess Elsa from Frozen.
Step 1 :
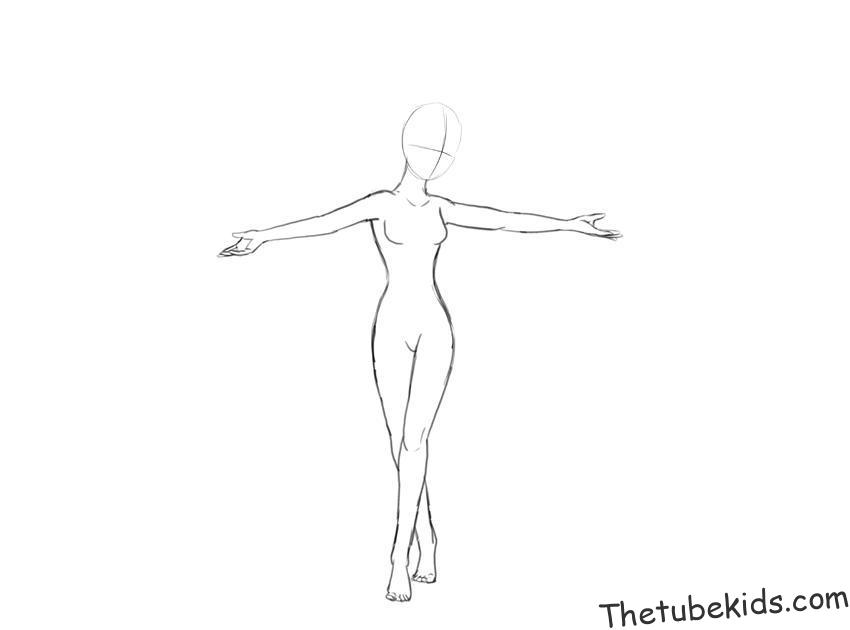
I will use the pose from the previous exercise, adjusting it this time to the specific proportions of Elsa’s body. To find the correct proportions, I followed this process:
Thetubekids.con – Copied some screenshots of Elsa in various poses into my drawing software (or you can print them). Drew lines following the method in the reference – top of the head, bottom of the head, bottom of the neck, bottom of the chest, waist, hips, knees, ankles, and the bottom of the feet. Roughly found the proportions for drawing.
Step 2:
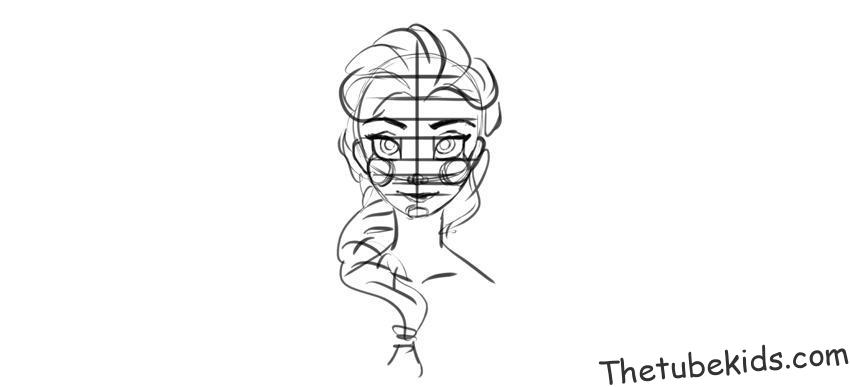
The next step is to find the correct proportions for the face. Here, I copied an image of Elsa’s face (sometimes you can find original character model sheets for this task) and marked lines indicating proportions – below the eyes, above the eyes, eyebrows, hairline, chin, etc. Then, I compared it to the generic Disney face to find what makes Elsa distinctive. I found that it includes:
Eyes are large, slightly higher than the classic 1/3.
Upper eyelids are large; they often cover the top of the iris, creating a mysterious look.
Eyes are almond-shaped.
Lips are narrow.
Facial contour is round.
Eyebrows are thin and dark.
Nose is small.
Eyelashes are dark, doll-like.
Eyeshadow on the upper eyelids draws attention, making the eyes appear larger.
Hairstyle is messy, adding a lot of extra space to the head.
Neck is slender.
More: How to teach children to draw a lion in a children’s drawing
Step 3
First is the skull area, divided into two halves, and then into three parts. These lines are somewhat curved as the head is slightly tilted towards the top (following the same rules as the eyeballs).
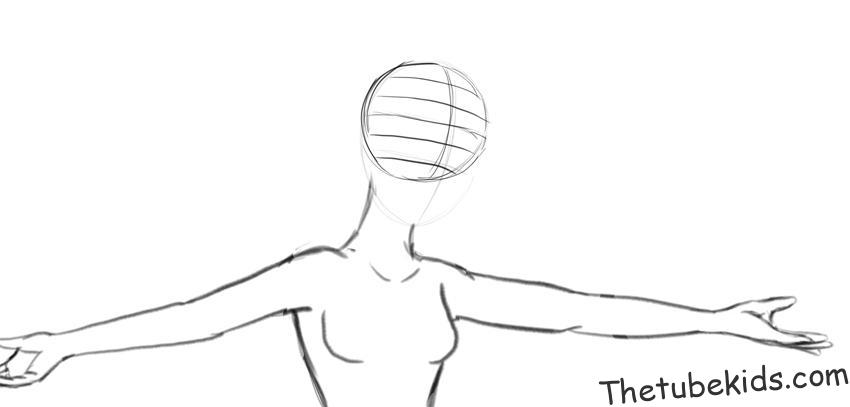
Step 4
Draw the curves of the eye sockets.
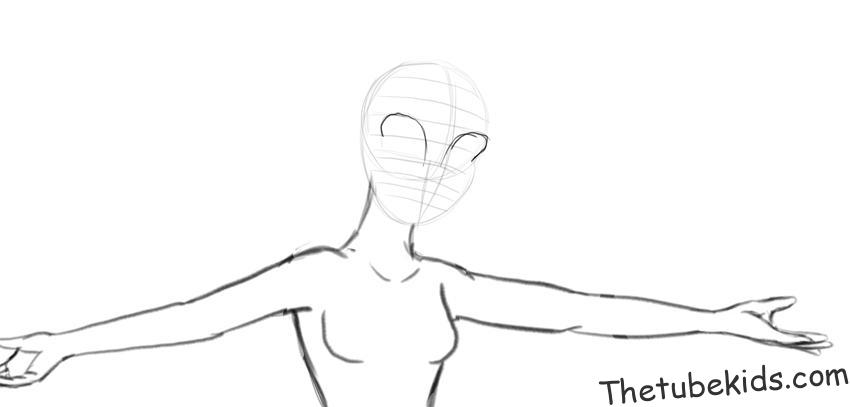
Step 5
Add details: iris/pupil, eyelashes, eyelids, eyebrows, and lips.
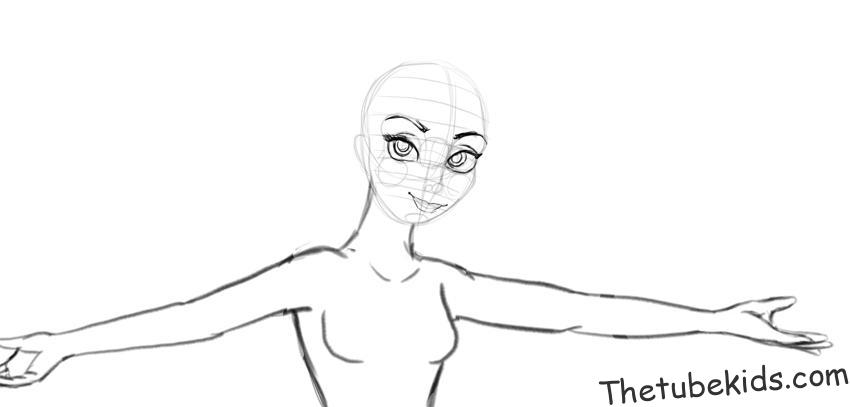
Step 6
Draw the final lines. In most cases, without this diversity of values, characters would look like themselves!
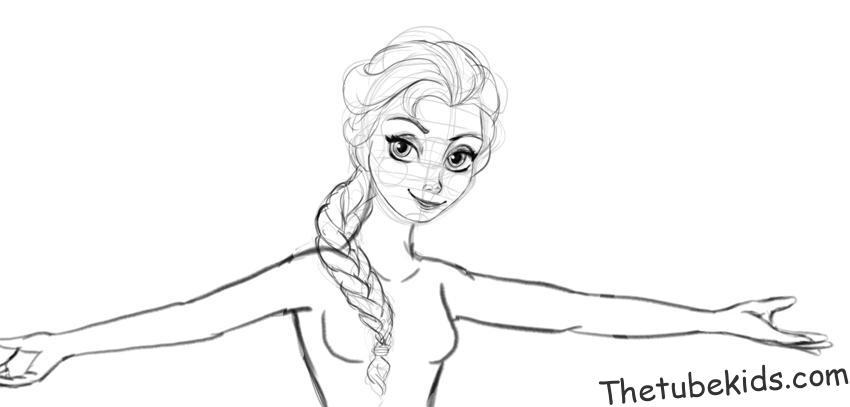
Step 7
Now let’s draw the rest of the body.
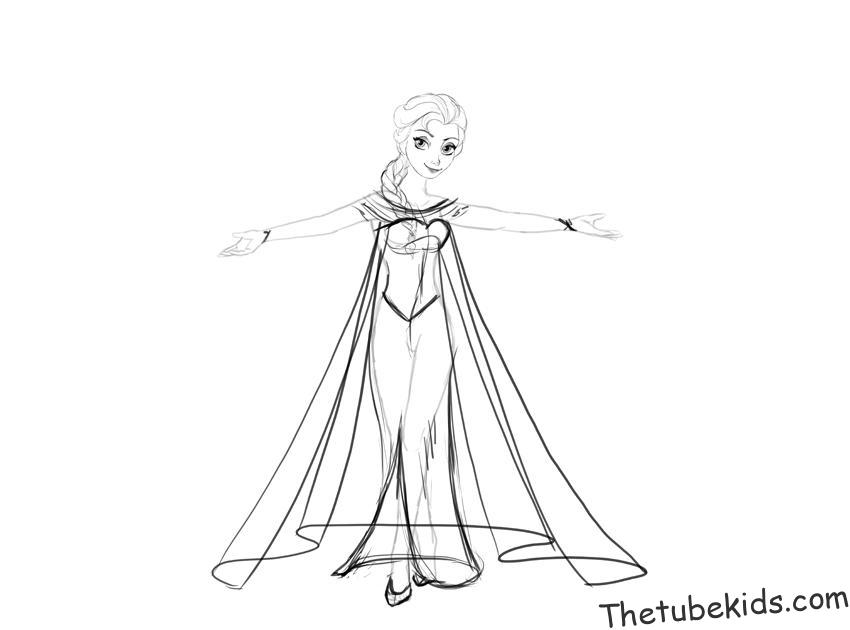
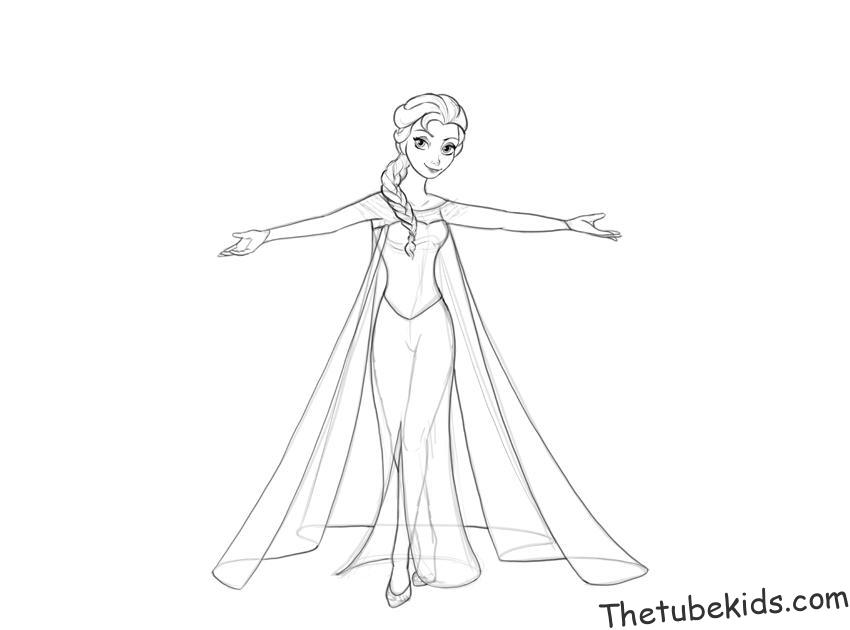
After completion, erase the excess guidelines, and there you have it – the Disney Princess, Elsa from Frozen, all drawn and ready. It’s beginner-friendly, and easy to do.


